Sokoban Deadlock Patterns: Spot Traps Before You Push
Sokoban deadlock patterns explain why a board can become impossible several moves before it looks stuck. A crate may still slide and the player may still walk after every valid plan is gone. The fastest improvement is learning to recognize these patterns before committing a push.
This guide narrows the broader Sokoban strategy guide to diagnosis and recovery: identify deadlock patterns, check whether the board is still solvable, and decide when to undo or restart. Sokoban players can use the same checks on Zeek, where extra objects close routes.
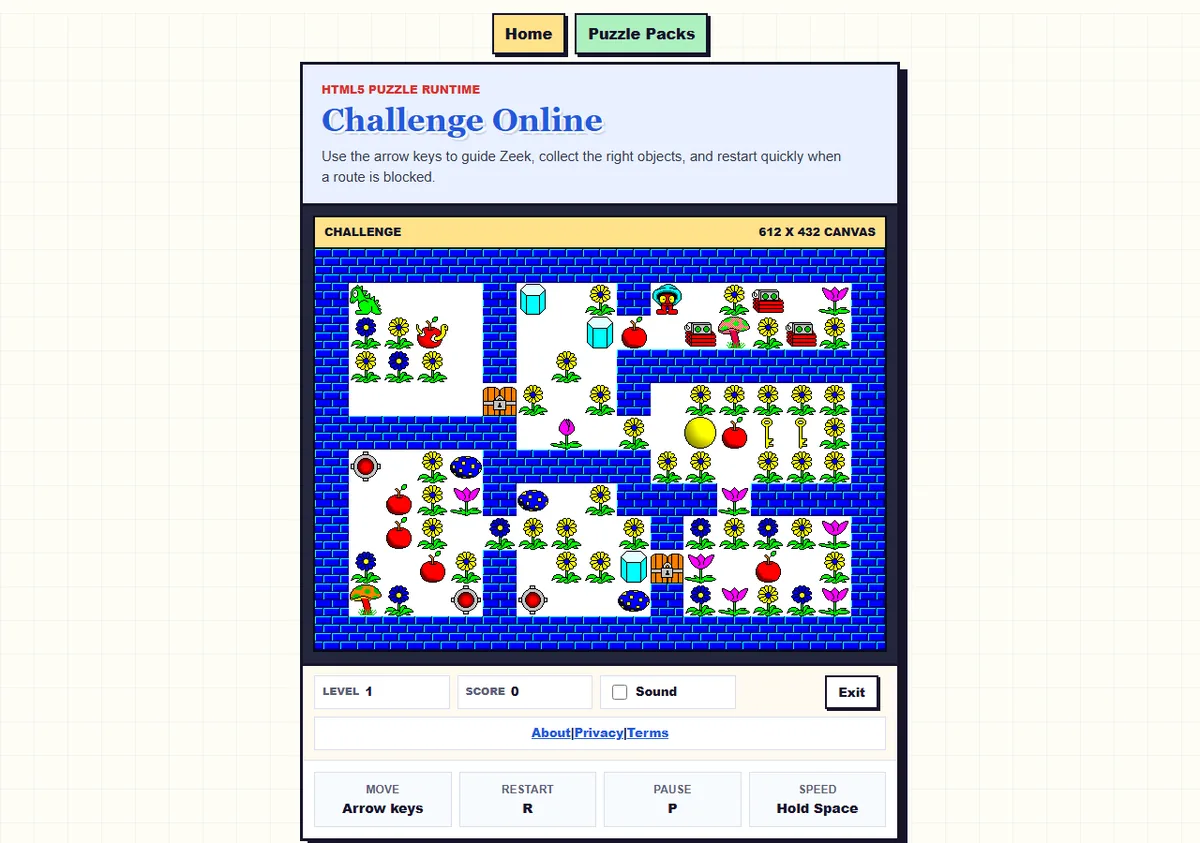
A real challenge board from this site. Before a push, inspect the destination and the square where the player must stand next.
The quick deadlock test
A Sokoban deadlock is a position with no legal continuation that can place every remaining crate on a compatible goal. You do not need to prove every future move. Ask four smaller questions before each push:
If any answer is unclear, pause and map the next two pushes mentally. Walking can often be undone, but a push changes the geometry of the level. A board can therefore be lost while it still looks active.
Sokoban deadlock patterns
Patterns are visual tests, not a complete solver. Several Sokoban deadlock patterns can overlap, and a goal tile can make a dangerous shape safe. Judge remaining goals and player access together: the failure may be a crate destination, a player route, or the goal assignment.
1. Non-goal corner and dead-square patterns
The classic deadlock is a crate in a corner that is not a goal. With walls on two sides, the player can never stand beyond the crate to push it out. Corner traps are the clearest Sokoban deadlock patterns: a crate here has no route to a goal. A dead square can also sit along a wall or beside a pillar when no goal lies on the crate's reachable line. The crate might move along the wall, but if it cannot leave that line or reach a goal, the square is still a trap.
2. Dead-edge and pocket patterns
On a Sokoban board, a dead edge is a wall segment from which a crate cannot turn toward any remaining goal. A one-cell alcove, inner L-corner, or three-sided pocket behaves the same way. The open room around it can be misleading: the crate is not frozen in place, but every possible slide stays on an unusable edge. Before pushing against a wall, trace the full wall route and ask whether a goal and a usable approach direction exist.
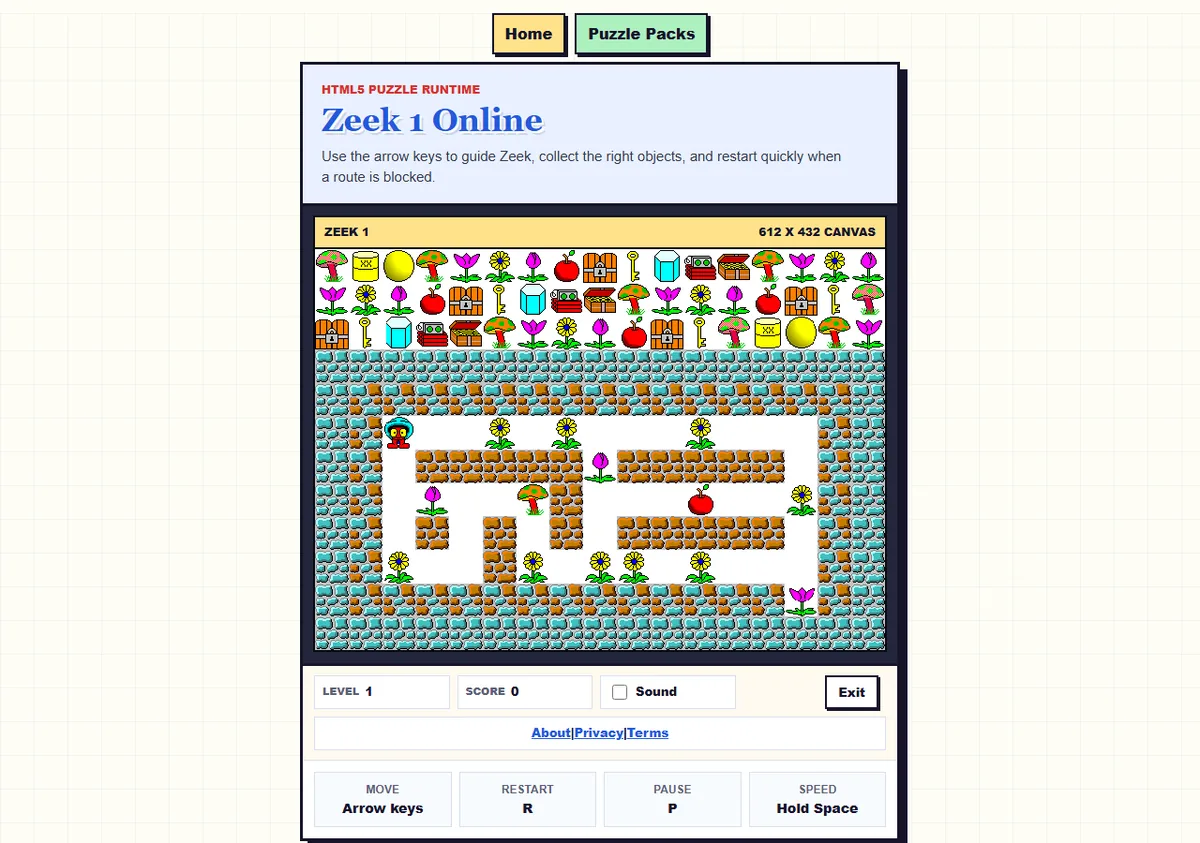
Use the same dead-square check on a compact Zeek board: a free-looking tile can still remove the only useful approach.
3. Freeze and 2x2 deadlock patterns
A crate can become frozen by another crate, a wall, or a combination of both. Two crates side by side against a wall may be unable to separate. Four crates in a 2x2 block are normally immovable unless every occupied square is a correctly solved goal arrangement. A chain can be subtler: the crate you pushed may sit on a goal, but it can immobilize a second crate that still needs to move.
Check the group, not only the last crate. If one member is not assigned to a reachable goal, undo before spending more walking moves. A goal does not automatically make a frozen group safe; it is safe only when the whole remaining assignment still works.
4. Closed-diagonal and mutual-support patterns
Some boards create closed diagonals or L-shaped mutual-support patterns. Each crate may appear to have one free direction, but moving either one removes the support square needed by the other. These Sokoban patterns are common in compact or checkerboard-like rooms. Look for pairs that need to pass through the same bend, then test which crate must move first. If neither can move without removing the other's support, the position is already deadlocked.
Access and order traps
Sokoban tunnel, doorway, and corral patterns
In a one-cell tunnel the player cannot pass a crate, and the crate usually cannot turn. If several crates enter the same tunnel, the farthest destination normally comes first. A doorway works the same way: parking a crate in the only connection between two regions can split the level, even when the crate remains technically pushable.
A corral is an area the player cannot reach because crates, walls, or a goal closure have sealed it. The crates inside may still move, but they may no longer have a route to any goal. These Sokoban patterns are access failures, even when no crate is frozen. After each doorway push, check the player's reachable floor, not only the crate's legal moves. If a needed object or support square is on the other side, undo immediately.
Sokoban goal-order and crate-assignment patterns
Goals in a dead-end corridor must usually be filled from the deepest square outward. A near goal can be correct in isolation and still be the wrong first move because it blocks the far goal. The same problem happens when two crates can reach the center but only one can approach a side goal from the required direction. Some Sokoban deadlock patterns combine a goal-order mistake with a blocked route, so check both before moving.
Plan backward from each constrained goal. Imagine the final push, mark the square where the crate must wait and the square where the player must stand, then repeat one step earlier. Solve the goal with the fewest approach options first. Leave flexible central goals open until the forced assignments are secure.
| Deadlock patterns | Early warning | Best response |
|---|---|---|
| Corner or dead square | Destination has two walls or no goal route. | Do not push; use another staging square. |
| Freeze or 2x2 | Crates lose all independent pushing sides. | Undo the last separating push before the group locks. |
| Tunnel or doorway | One crate would occupy the only passage. | Send the deepest assignment first and keep the junction open. |
| Corral or access loss | Player cannot reach a required region or support square. | Undo until the reachable area is restored. |
| Wrong goal assignment | A crate fills a goal needed by another crate's route. | Work backward from constrained goals and reassign early. |
Undo, reposition, or restart
Pattern recognition and recovery are part of solving, not separate skills. If two patterns overlap, recover from the earliest push that caused either one. Use this short decision process:
- Confirm the trigger. Identify the exact push that created the dead square, freeze, blocked doorway, or lost approach.
- Undo to the last safe state. If the game supports undo, return to the position before the trigger, not merely the most recent walking move.
- Reposition before pushing again. Walk around the board and verify that the player can reach the required side. A good crate destination is not enough if the worker cannot support the next push.
- Restart when the plan is contaminated. If several dependent crates are now in the wrong order, or no useful undo exists, restart early. Continuing only adds walking to a position that cannot finish.
Applying the checks to Zeek the Geek
Zeek is not a pure Sokoban implementation, but its compact boards reward the same discipline. Many Sokoban deadlock patterns apply to its routes, while apples can fill holes, boulders can block routes, keys and doors can change access, and hazards can make a seemingly open square unsafe. A flower, mushroom, or collectible can also turn a route into a required visit rather than an optional detour.
Before moving an object, note which spaces Zeek needs to stand on later and whether a key, door, or hazard changes the order. If an apple is the only bridge across a gap, do not spend it as decoration. If a boulder closes the only passage to a key, the position may be a Zeek-style access deadlock even though the boulder is still movable in another direction.
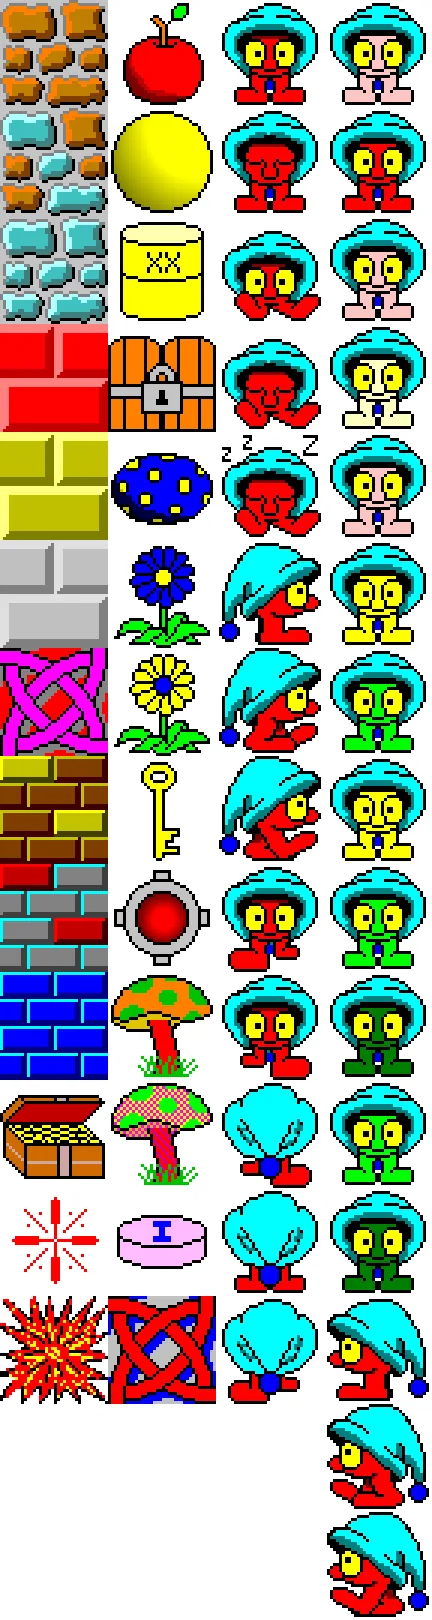
Zeek's objects add route dependencies, so combine deadlock checks with the site's walkthrough and restart controls.
Use minimal-moves planning only after the board is safe. Fewer walking steps do not matter if a push forces a restart. When a small board is hard to reason about, the Sokoban solver can verify a compact box layout, while this page explains why the Sokoban deadlock pattern made that position fail.
FAQ
What is a Sokoban deadlock?
A deadlock is a position from which every remaining completion fails, even if the player can still walk. It includes immovable crates and softer access or assignment failures.
What is the most common Sokoban deadlock pattern?
A crate in a non-goal corner is the easiest to recognize. Dead edges, frozen pairs, blocked tunnels, and premature goal placements are also common.
How do you avoid Sokoban deadlocks?
Mark dead squares, inspect the player's next standing square, keep doorways open, fill constrained goals first, and test the reachable area after each push.
Should I undo or restart after a deadlock?
Undo to the last safe state when you know the trigger. Restart when several dependent moves are now wrong, or when the game cannot restore the required access route.
Do these checks help with Zeek the Geek?
Yes. Zeek has extra objects and hazards, but access, order, and irreversible placement still determine whether a route remains solvable.
Sources and further reading
Pattern terms follow the Sokoban Wiki deadlock reference, a push-planning guide, and a rules overview. They describe standard Sokoban; Zeek examples use this site's playable version.
Try the checks on a real board
Open a compact puzzle, mark the dead squares, and wait before the first irreversible push.
Play Zeek online