 Zeek the Geek
Zeek the Geek Walkthrough: Part One Levels 1–15
This Zeek the Geek walkthrough gives spoiler-light help for Part One levels 1–15. Use it when you are stuck, want to understand why a route failed, or need a practical checkpoint before restarting. The guide focuses on planning, object order, and recoverable mistakes rather than turning every puzzle into a list of arrow-key presses.
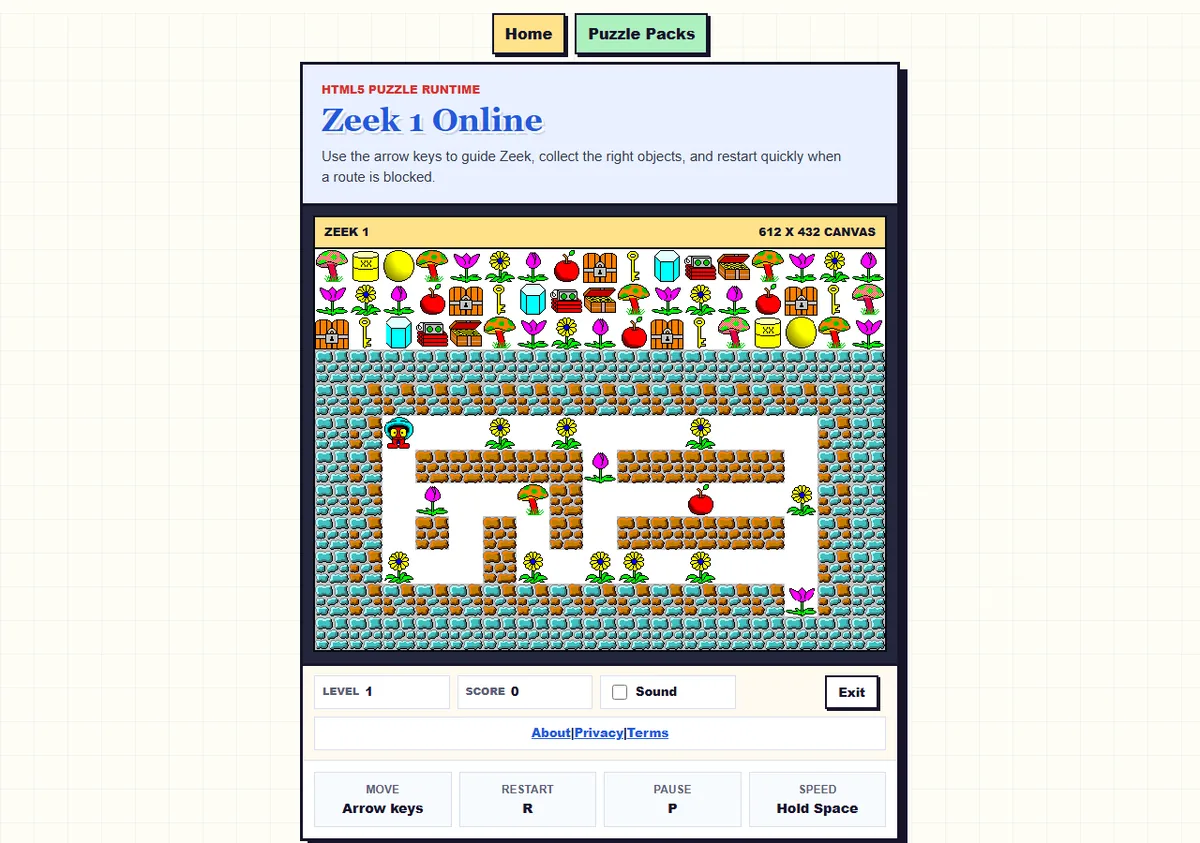
Screenshots captured from this site's browser implementation of Zeek the Geek.
How to use this Zeek the Geek walkthrough
Start the level in the browser, pause before the first move, and compare the board with the checkpoints below. The hints describe the decision that matters most instead of listing every arrow-key press. That keeps the puzzle satisfying while still showing what must be protected.
Part One teaches a vocabulary that repeats across later puzzle packs. Flowers and other goals may look simple, but keys, gates, boulders, mushrooms, monsters, water, and narrow corridors change the order in which those goals are safe to collect. When a move changes the map, ask whether Zeek still has a route to the exit and every remaining objective.
Use the guide in short cycles: inspect the board, attempt a section, identify the first irreversible failure, then restart with one corrected decision. Randomly changing several moves at once makes it harder to learn why the route worked or failed.
Levels 1–5: learn route order
The opening group is a tutorial in disguise. Levels 1 and 2 reward basic route reading: collect reachable goals without sealing the return path. Levels 3 and 4 begin to punish impulsive movement because a useful object can become inaccessible after one wrong approach. By level 5, check the whole board before touching a key or pushing anything.
Separate ordinary goals from route-changing objects. Pick up goals when they do not alter access. Delay keys, boulders, gates, and dangerous interactions until you understand what they unlock or block. If two corridors meet at one narrow tile, treat that tile as important even when it looks empty.
The common early mistake is assuming the closest item must be collected first. Distance is less important than access. A longer route that leaves the center open is often safer than a short route that forces Zeek into a corner.
| Levels | Main focus | Restart signal |
|---|---|---|
| 1–2 | Read the complete route before moving. | You enter a dead end with an uncollected goal behind you. |
| 3–4 | Delay keys and route-changing actions. | A useful object is reachable only from the wrong side. |
| 5 | Check one-way corridors. | The return path closes after an avoidable move. |
| 6–7 | Plan gates and movable objects as a sequence. | You spend a key without gaining lasting access. |
| 8–10 | Find the first irreversible decision. | One corridor is permanently blocked. |
| 11–12 | Work backward from the final objective. | The final goal cannot be approached. |
| 13–15 | Preserve central space and flexible routes. | Zeek is trapped in one region. |
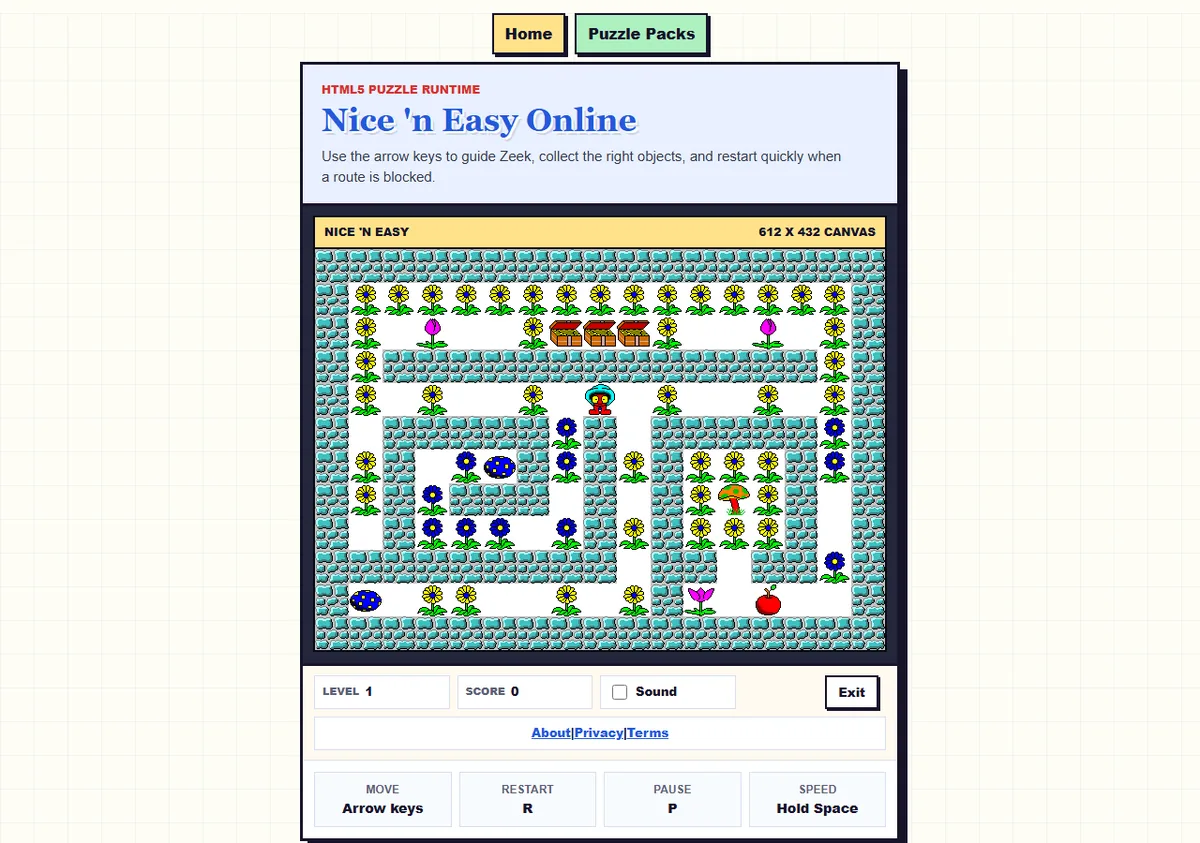
Screenshots captured from this site's browser implementation of Zeek the Geek.
Levels 6–10: manage gates and chain reactions
The middle levels ask you to think in sequences. A key is not simply a collectible; it is permission to change the board. A boulder is not simply an obstacle; its final resting place may decide whether Zeek can return. Before triggering a chain reaction, identify a safe square and a route that remains open afterward.
When a solution almost works, do not immediately try a completely different path. Find the first irreversible move: opening the wrong gate, pushing from the wrong side, collecting an item before using it as a barrier, or entering a corridor without an exit. Correcting that first irreversible decision is faster than improvising near the end.
Pause after every major board change. Confirm which regions are connected, which objects remain reachable, and whether the final objective still has an approach tile. This three-second check prevents long attempts built on an already blocked route.
Levels 11–15: solve backward from the finish
The final Part One group combines earlier ideas and gives less room to recover. Work backward from the last flower, exit route, or required object. Ask which side Zeek must approach from, what must remain movable, and which gate must still be open. Reserve those tiles while solving easier areas.
If several goals are visible, the nearest one is not automatically first. Prefer the goal that preserves the most routes. Leave flexible central spaces open until the board is understood, and clear isolated branches only when you know you will not cross them again.
For a complicated board, take a screenshot or make a short note after a successful section. The next restart should reproduce the proven opening before testing one new decision. That turns a difficult level into several small experiments instead of one long guess.
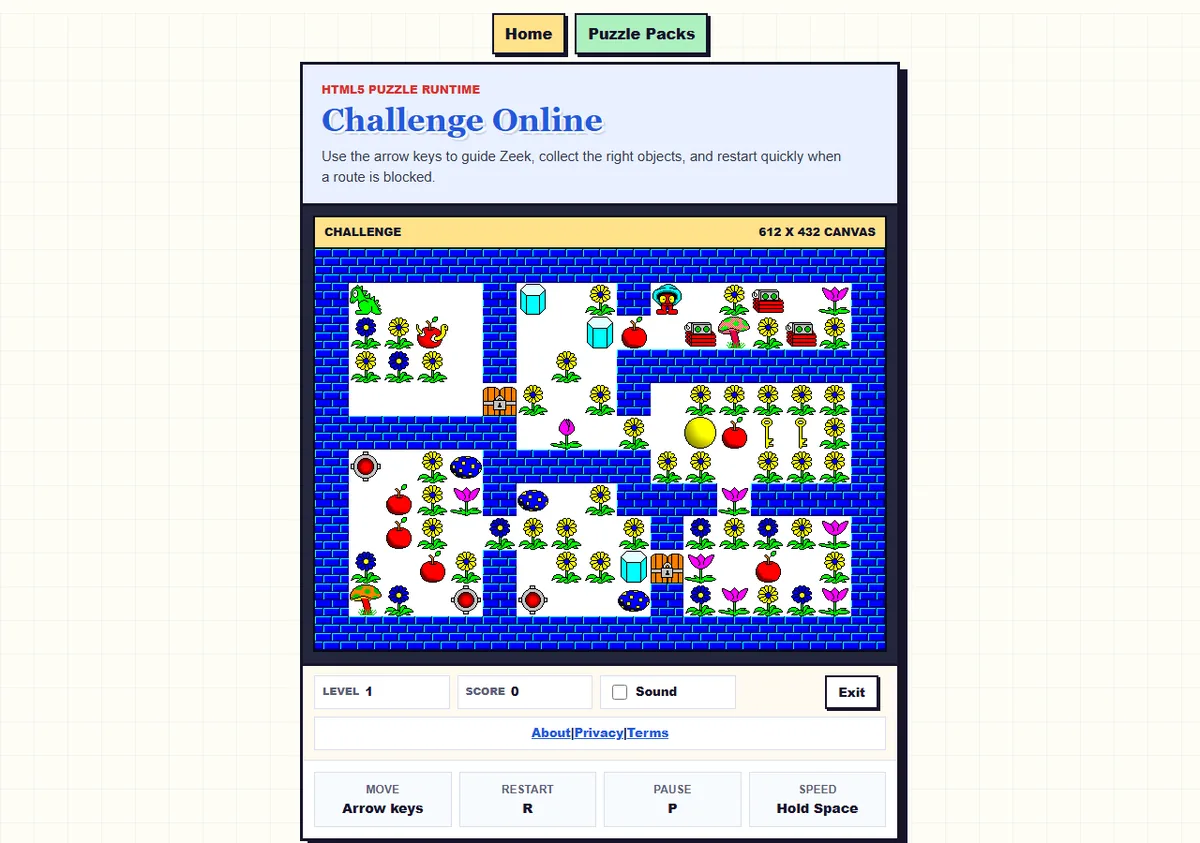
Screenshots captured from this site's browser implementation of Zeek the Geek.
Object strategy checklist
For every object, ask four questions: Does it change access? Can it be moved or used more than once? From which direction must Zeek approach it? What becomes impossible immediately afterward?
The safest move is usually the one that keeps options open. Collecting a simple goal may not block movement, while pushing a boulder against a wall or spending the only key is permanent. Plan permanent decisions first, then execute them in the game.
Keys deserve special attention because opening a gate feels like progress even when it exposes the wrong region. Check whether the opened route helps the final plan and whether another gate will need the same limited resource.
What to do when a level feels impossible
Restart and wait. Scan borders, dead ends, single-width passages, and objects that can only be approached from one side. Divide the level into regions and identify which event connects them. Then test one route-changing action at a time.
If the board fails, record the action that caused the failure. A failed attempt is useful when it proves that a key must be saved, a boulder must stop elsewhere, or a branch must be cleared earlier.
Use the easier Nice 'n Easy pack to practice movement and object behavior, then return to Part One. The Challenge screenshot shows how later packs increase density; it is not a signal to skip the foundational lessons in Zeek 1.
Zeek the Geek walkthrough FAQ
Is this a complete move-by-move solution?
No. It is a spoiler-light walkthrough that identifies the important decisions for Part One levels 1–15.
Which puzzle pack should beginners play first?
Start with Nice 'n Easy to learn the objects, then play Zeek 1 Part One for the classic progression.
Why restart before the level is obviously lost?
Many moves are irreversible. Restarting after the first blocked route is faster than continuing a board without a valid solution.
Can I use this walkthrough on a phone?
The guide is mobile-friendly, but the game itself is most comfortable with a physical keyboard and desktop-sized browser.
Ready to try the route?
Open the puzzle-pack page, choose Zeek 1, and use these checkpoints only when you need them.
Play Zeek 1 online