Hardest Sokoban Levels: How to Read Difficult Puzzles
The hardest Sokoban levels are not necessarily the largest ones. They are the boards where one push removes a future option, the goals must be filled in a hidden order, and the player can still walk even after the solution has already become impossible.
This guide helps you compare difficult Sokoban puzzles before you commit to a long attempt. It focuses on recognizing difficulty, reading access squares, and choosing a solving method. It is different from a general Sokoban levels guide: the question here is why a level is hard and whether it is fair, not just how to finish one particular board.
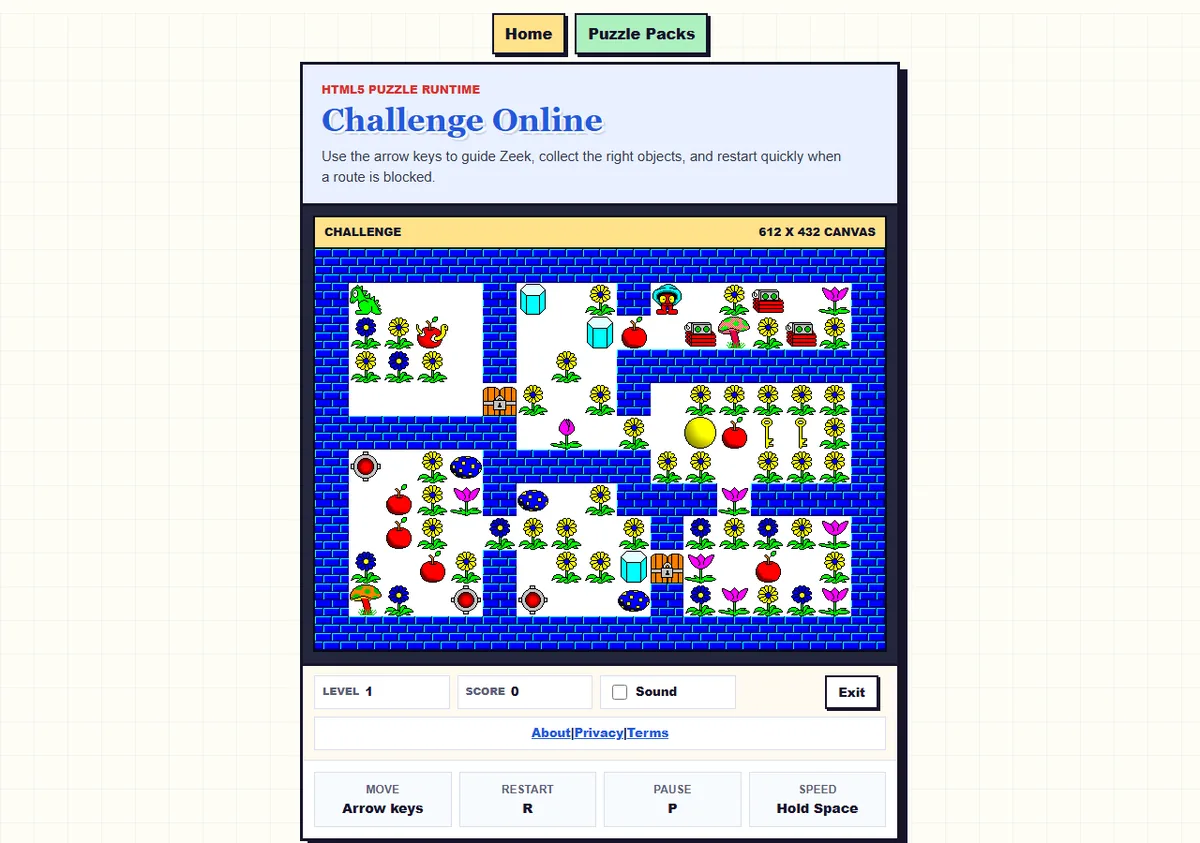
A real challenge board from this site. Tight routes make the next standing square as important as the object you want to move.
Quick test: what creates difficulty?
Before calling a level one of the hardest Sokoban levels, check five features. A difficult board usually has at least two; a memorable expert board often combines four or five.
| Difficulty signal | What to look for | Why it matters |
|---|---|---|
| Irreversible pushes | Boxes or objects cannot be pulled back. | A harmless-looking move can permanently remove the solution. |
| Limited access | Only one square lets you stand behind an object. | The object may still move, but the useful push direction can disappear. |
| Forced goal order | One goal blocks the route to another. | The closest goal may need to wait until the end. |
| Resource order | Keys, doors, hazards, or special objects change the route. | The level asks you to preserve an item before you know why. |
| Low recovery | There are few safe waiting squares or alternate routes. | Small errors become restarts instead of experiments. |
Hard versus merely large
Board size is a weak difficulty signal by itself. A large open board can offer many safe walking routes and several ways to approach a box. A compact board can be much harder when every corridor is also a standing square and every goal has only one practical entry direction.
Good difficulty comes from information and order, not from hiding the rules. You should be able to understand why a position failed after a restart. If a level depends on an invisible rule, random timing, or a single pixel-sized interaction that the game never explains, call it frustrating rather than intelligently hard.
Five signs of a difficult level
1. The final push is not obvious
Start with the goal that looks easiest and ask which side the player must occupy for the last push. If that square is inside a corridor, the box may need to arrive from a direction that is not visible at first. The hardest levels often reveal their real shape only when you plan backward from the final move.
2. A correct placement can be wrong too early
A box on a goal feels like progress, but the box can also be a wall. If it occupies a turning square or blocks the only route behind a second box, the level is lost even though one goal is complete. Treat a goal as a reserved destination, not an invitation to fill it immediately.
3. The player loses the useful side of an object
Classic deadlocks include non-goal corners and frozen boxes, but access deadlocks are more subtle. The object can still move in one direction, yet the player can no longer reach the side needed to send it toward a goal. After every important push, check both the object and the route behind it.
4. Two objects share one narrow lane
When two boxes, keys, or movable hazards need the same corridor, order becomes the real puzzle. Move the object with the least flexibility first, then keep the lane open for the object that needs the most careful approach. If both objects have only one route, sketch the sequence before touching either one.
5. The board asks for restraint
Difficult puzzles often punish useful-looking activity. Walking around, collecting an item, or opening a gate can be safe, while pushing the nearest object is not. The best first move may be to do nothing irreversible until you have identified the last two goals and the squares needed to reach them.
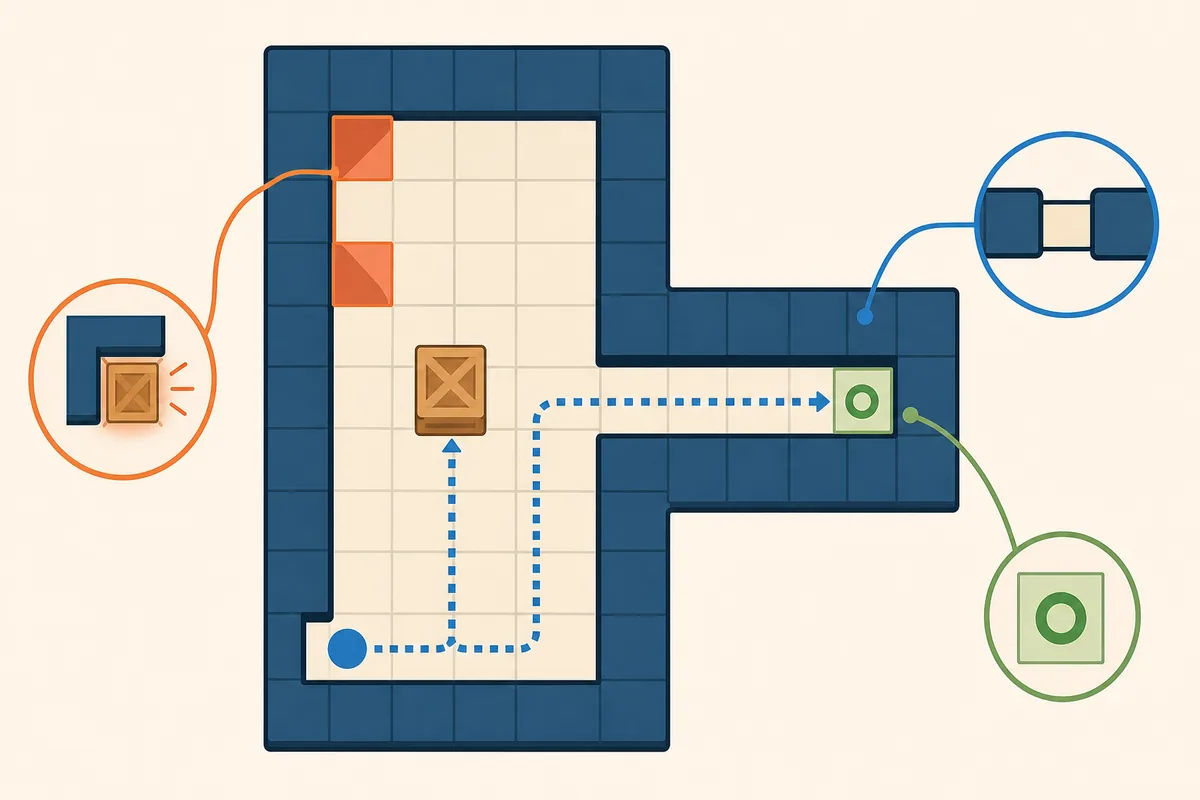
A repeatable method for the hardest levels
Use the same short routine whenever a board looks intimidating. The goal is not to predict every walking step. The goal is to protect the decisions that cannot be undone.
- Map the permanent features. Mark walls, non-goal corners, one-tile tunnels, goals, and squares where the player can stand behind a box.
- Plan the last useful push. For each difficult goal, decide the final direction and the square the player must occupy immediately before it.
- Assign flexible objects first on paper. A box with three possible destinations can wait. A box that can reach only one goal should be treated as a constraint.
- Test walking before pushing. Walk around the board and confirm that the player can reach the required side. Do not spend a push merely to discover that the next side is inaccessible.
- Change one decision per restart. Repeat the known opening, alter one order-changing push, and compare the resulting access routes. This turns failure into information.
For Zeek the Geek, extend the same method to keys, gates, crystals, boulders, apples, and hazards. The game is not pure Sokoban, but its difficult boards also depend on preserving a future interaction. The Sokoban definition and deadlock guide explains the shared foundation, while the site’s Zeek walkthrough is better when you want level-specific hints.
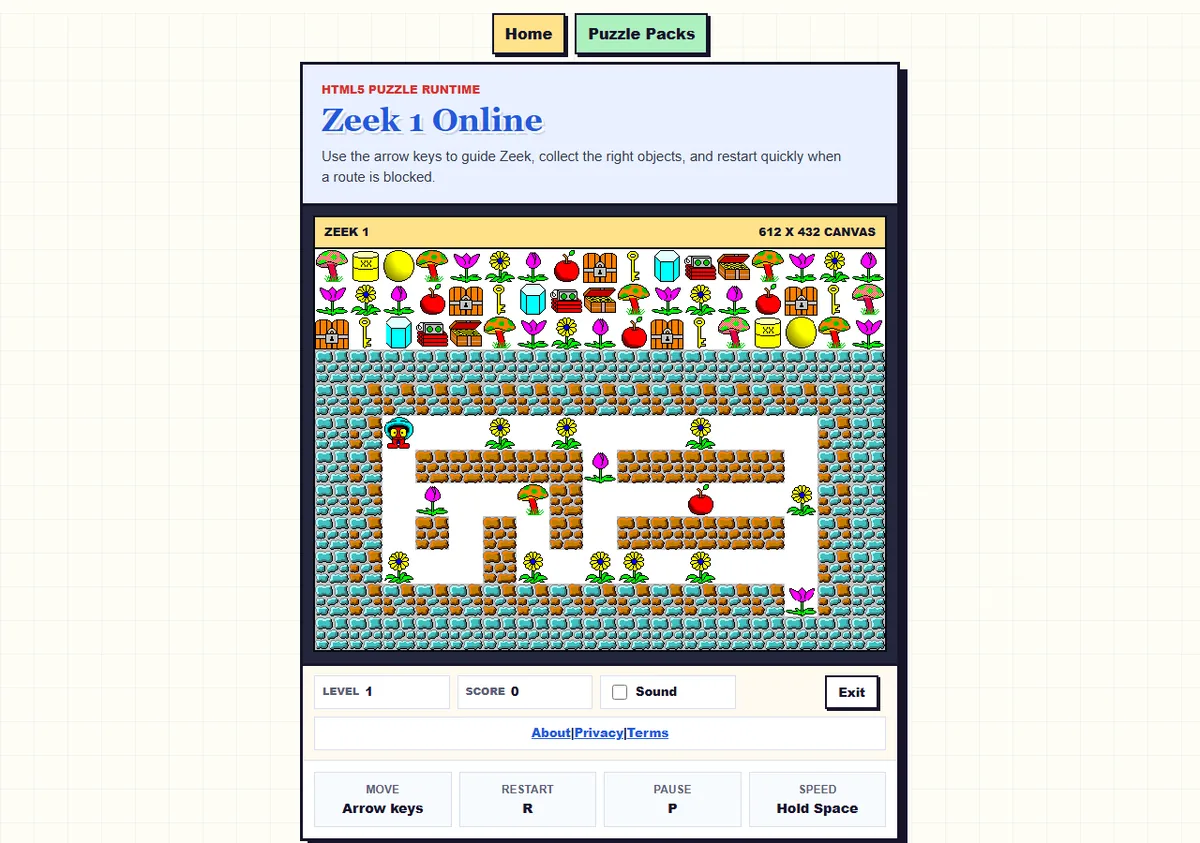
A compact real board can be difficult because its useful approach squares are limited, not because it contains a large map.
A practical difficulty score
When comparing several hard levels, score each category from 0 to 2. Zero means the feature is absent, one means it creates some pressure, and two means it controls most of the solution. The total is not an official rating; it is a way to explain why a board feels hard.
| Category | 0 points | 2 points |
|---|---|---|
| Push order | Goals can be filled in many orders. | One late goal determines the whole sequence. |
| Access squares | Several sides remain reachable. | One missed standing square ends the plan. |
| Deadlock risk | Most pushes are reversible or safe. | A corner, wall, or freeze is easy to trigger. |
| Object interaction | Objects behave independently. | Keys, doors, hazards, or special objects share one route. |
| Recovery | There are alternate routes and safe waiting areas. | Every experiment consumes the only useful lane. |
Zeek adds object order to spatial difficulty. A key or hazard can make a route harder even when the board itself is small.
When to use a solver or walkthrough
A solver is useful when you have a small ASCII board and want to test whether a position still has a route. The site’s Sokoban solver is designed for that narrow check. It should answer “is this state solvable?” rather than replace the explanation of why the state works.
Use a walkthrough when the puzzle is part of Zeek’s campaign and the valuable information is a hint, an object order, or a restart signal. If you only copy the final sequence, you may finish one level without learning the pattern that makes the next difficult level readable. The best order is usually: inspect, make a hypothesis, test it, then consult a hint only when the failed idea is clear.
Hardest does not mean unfair
A fair hard level gives you enough information to reconstruct the mistake. The board may demand a long plan, but the rules, goals, and object behavior remain visible. An unfair level hides a required interaction, changes the meaning of a tile without warning, or makes a restart slow enough that experimentation becomes tedious.
When you design or review a puzzle, test it from a fresh save and write down the first point where a new player is likely to fail. Then check whether the level teaches that rule before it requires mastery. The level editor guide uses the same principle: difficulty should come from choices, not from unexplained behavior.
Hardest Sokoban levels FAQ
What makes a Sokoban level one of the hardest?
The hardest levels combine irreversible pushes, limited standing squares, forced goal order, and a route that is easy to close before the final push.
Are the hardest Sokoban levels always the biggest boards?
No. Small boards can be harder when they remove walking space and give each box only one useful approach.
How can I avoid a deadlock on a difficult level?
Mark non-goal corners, keep access squares open, plan the last push backward, and restart when a required approach direction disappears.
Should I use a Sokoban solver for the hardest levels?
Use a solver to verify a small board, but use a guide or walkthrough when you want to understand the reasoning behind the sequence.
Can these ideas help with Zeek the Geek?
Yes. Zeek is not pure Sokoban, but protecting future access, tracking object order, and restarting after an irreversible mistake are useful habits in both games.
Summary
The hardest Sokoban levels are defined by constrained choices: one approach direction, one safe goal order, one remaining corridor, or one resource that must be preserved. Read those constraints before the first push, score the board by access and recovery, and use a solver or walkthrough as a learning aid rather than a replacement for the plan.
Ready to test a difficult board?
Play a Zeek puzzle pack, protect the next standing square, and restart early when a route becomes impossible.
Play Zeek online Read the Sokoban levels guide